Chef's Gap Year: You eat when the cheese says you can eat
This post is part methodical explanation, part glossary of terms and part ‘day in the life’ ramblings.

Hoops come in all different sizes and shapes depending on the type of cheese you’re making
Once you’ve finished having your existential crisis about flocculation, there is some important maths to be done. Flocculation time is the variable that you plug into the equation that forms the backbone of the recipe, to determine what’s known as the ‘hardening’ time. In an inverse bit of logic the longer the hardening time, the softer the final product will be. Crucially this is also the best opportunity to decide when to eat lunch, as the recipe will now be a fully fleshed out schedule on the large whiteboard with precise to-the-minute timings for each step you need to complete for the rest of the day. This recipe dictates everything, and with two different types of cheese made daily this often means the window for your lunch break is extremely precise: you eat when the cheese says you can eat.
Across the morning we spend time cleaning, sanitising and preparing the equipment for the rest of the day. The sanitised make-table in the centre of the room is stacked with hoops, trays, cutters, stirrers, and other accoutrements of cheesemaking. The make-table is a low, stainless steel trough with a sloping base. Moveable metal slats allow for trays to be stacked securely, and a bucket is placed under the plughole at the end to catch whey as it drains.
While setting up one eye stays on the clock at all times, partly so you can be on-time for the next step of the recipe but also to make sure you’ve submerged all equipment in sanitiser for 5 minutes. The big tub of sanitiser has several hundred litres of liquid in it. You could drown in there. It was always a real test of depth perception to see if you could reach a utensil that had sunk all the way to the bottom without dipping the edges of your sleeves into the tub.
I spent many days with soggy arms.
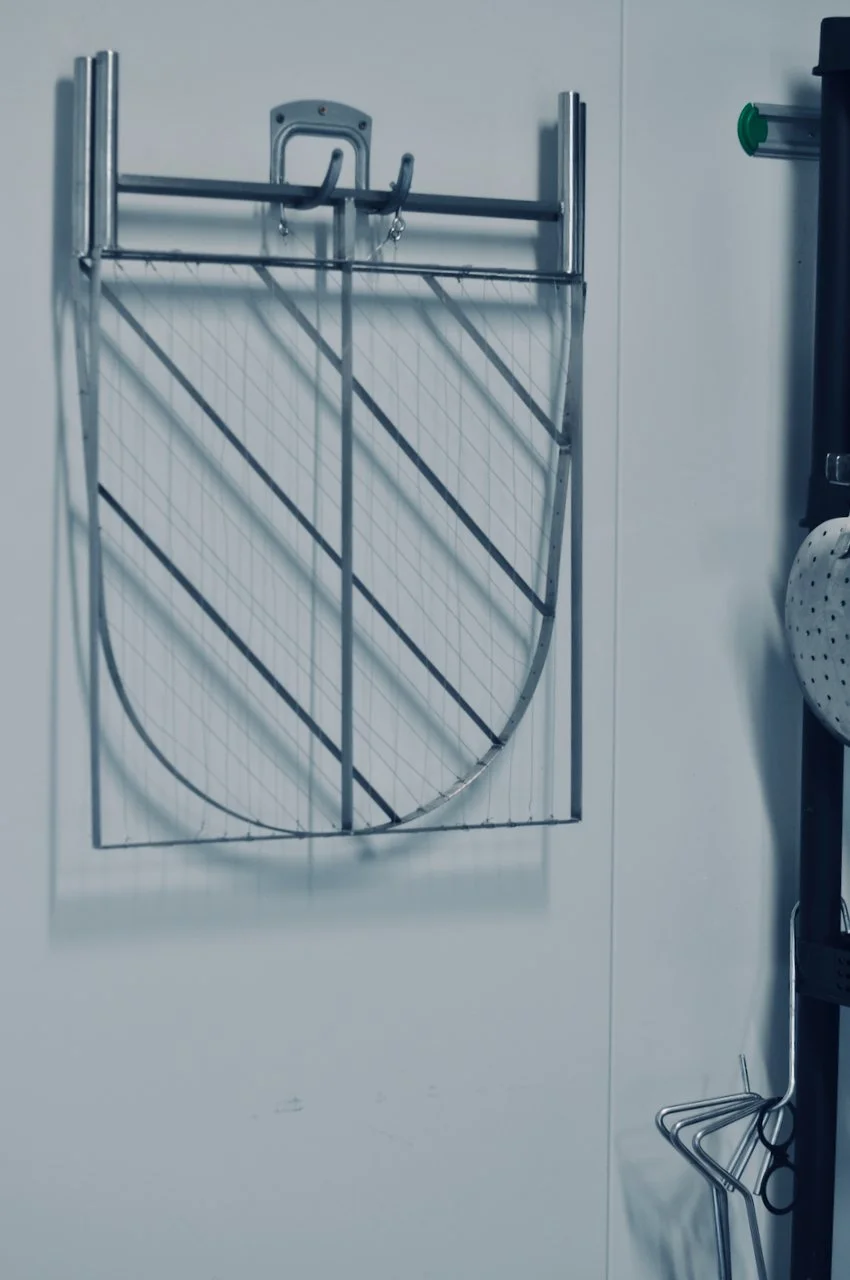
Anyone else seeing playschool windows or just me?
The next step is cutting the curds using (appropriately enough) a curd cutter: a large metal frame with taut wires strung about 2cm apart. Two handles at the top allow the cheesemaker to lower the frame into the vat and pull it through in a fluid motion. We used two different shaped cutters, one rectangular with vertical wires and one with an arched base and diagonal lines. Hanging on the wall they are vaguely reminiscent of the play-school windows. They are designed to precisely fit the shape of the vat, and cut neat pieces of curd. The curved base snugly ran down the full length of the vat while the square edge makes 3 cross-sections. We were advised to handle with care: a day of cheesemaking leaves your hands extremely soft and prune-y. The wire on a curd cutter could easily slice that vulnerable skin. If that happened while your hands were in a big batch of cheese, the whole vat would need to be thrown out. Stuff of nightmares.
After cutting the curds undergo the occasional gentle stir with a square sheet of perspex. Stirring helps to separate the curds and whey, and will also begin the ‘knitting’ process where the lumps of curd bind together. Knitting is why cheese holds together rather than just being a wobbly mess of curd that falls to pieces.
The cut curds will sink and separate from the whey and you can drain off the majority of the liquid, using a good old fashioned cut-hose siphon method. This is a handy thing to know in case you’d ever like to steal some petrol. While there are some things you can do with whey — it’s used to cook halloumi and make ricotta — mostly it is a waste product and gets sucked out of the factory in a Willy Wonka style tubing system (albeit a much smaller version; no chances of an Augustus Gloop moment) into another 1000Lt container that is sent to a local pig farm to feed the piggies. This was some fun foreshadowing for my next internship where I spent many mornings feeding whey to pigs.
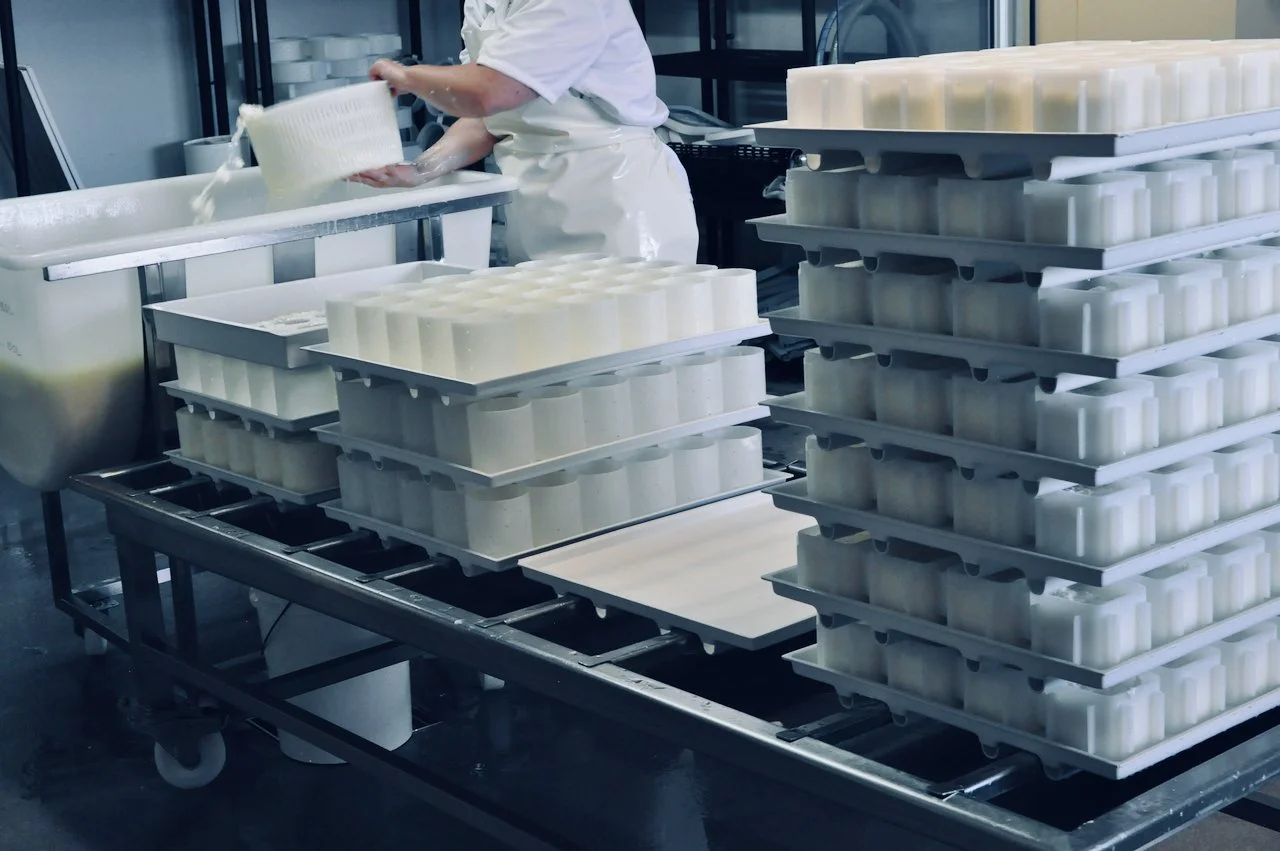
Trays of hoops are stacked on the make table where whey can drain easily
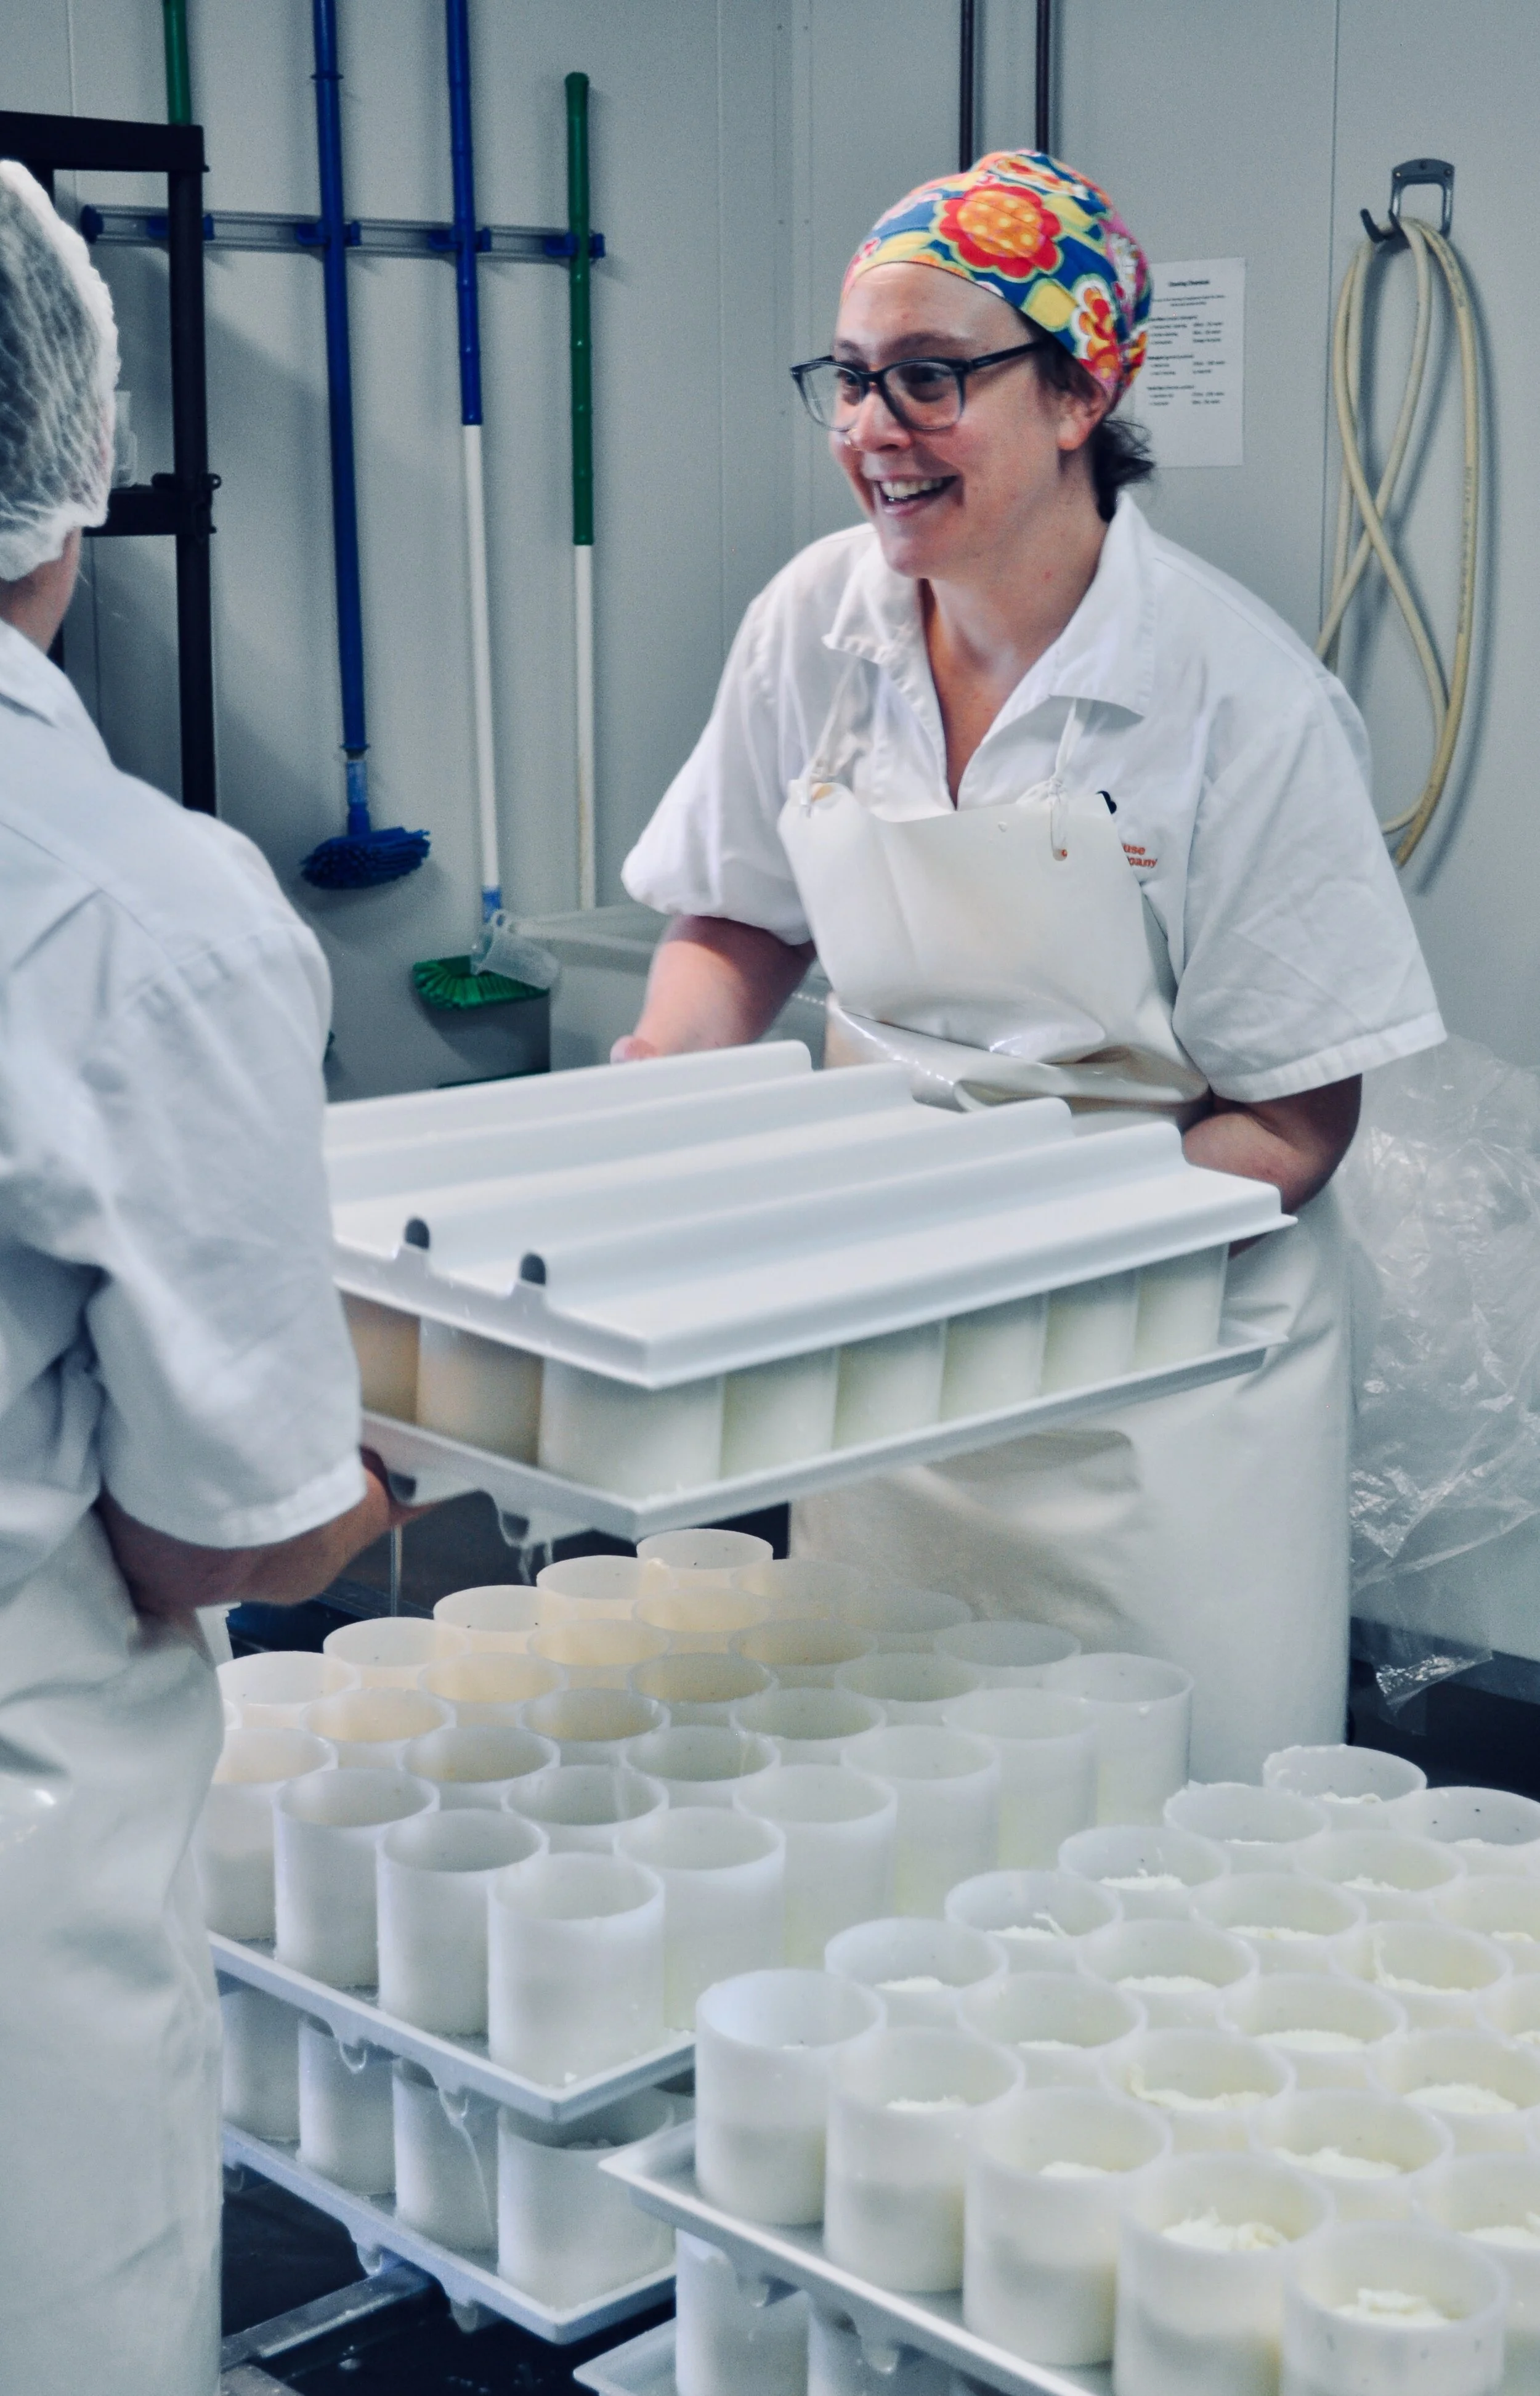
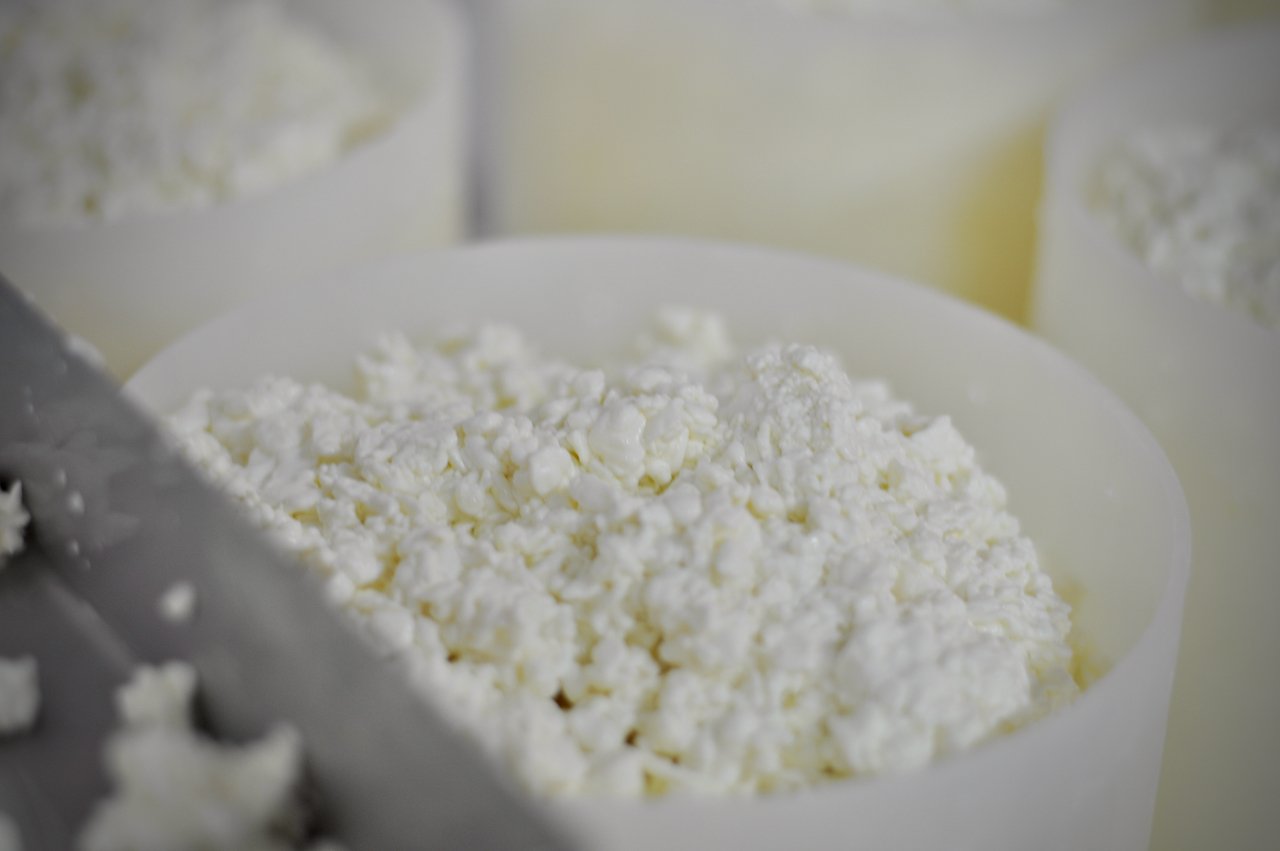
Draining curds and filling hoops is fun, physical, and you should definitely remember to wear your rubber apron. Perforated baskets are dipped into the vat and curds are lifted out while the remaining whey streams messily back into the vats (and onto your apron). A few circular shakes help to drain excess whey without disturbing the curds too much. Then you upend the basket and fill each tray of hoops. In the same way baking tins contain, hold, and shape batter into a cake, so to do hoops for cheese. They can be large, individual cylinders, or columns and rows of interconnected circles (or squares), with an open top and base and perforated with holes to allow for drainage.
The hoops have been stacked onto cheesemaking trays which have gutters built into them to allow whey to run off the ends and onto the make table, rather than forming a puddle. These gutters also slot into the metal slats on the make table. Hoops should be filled heaping to the brim to allow the curds to settle into a flat wheel as they drain.
One, two, three: flip.
The filled hoops need regular turning to ensure the cheeses are draining and shaping themselves evenly. By placing an upside tray on top of another full tray of hoops you can flip the whole tray in one fluid motion, like turning a cake out to cool. For full trays of smaller cheeses, the size and weight of the trays make this a two person job. Facing your partner you first lift the tray a little to give it a firm bang: dislodging any pieces of curd that have stuck to the mat. Then, with one hand on top, one hand on the bottom and staring intently into each others eyes you flip the tray smoothly on the count of three. Each stack might have up to 10 or 12 trays of hoops and the flipping process happens multiple times, depending on your recipe. It feels a bit like a dance, and it’s very satisfying to hear the wheels all ‘flump, flump', flump’-ing into place as you flip.
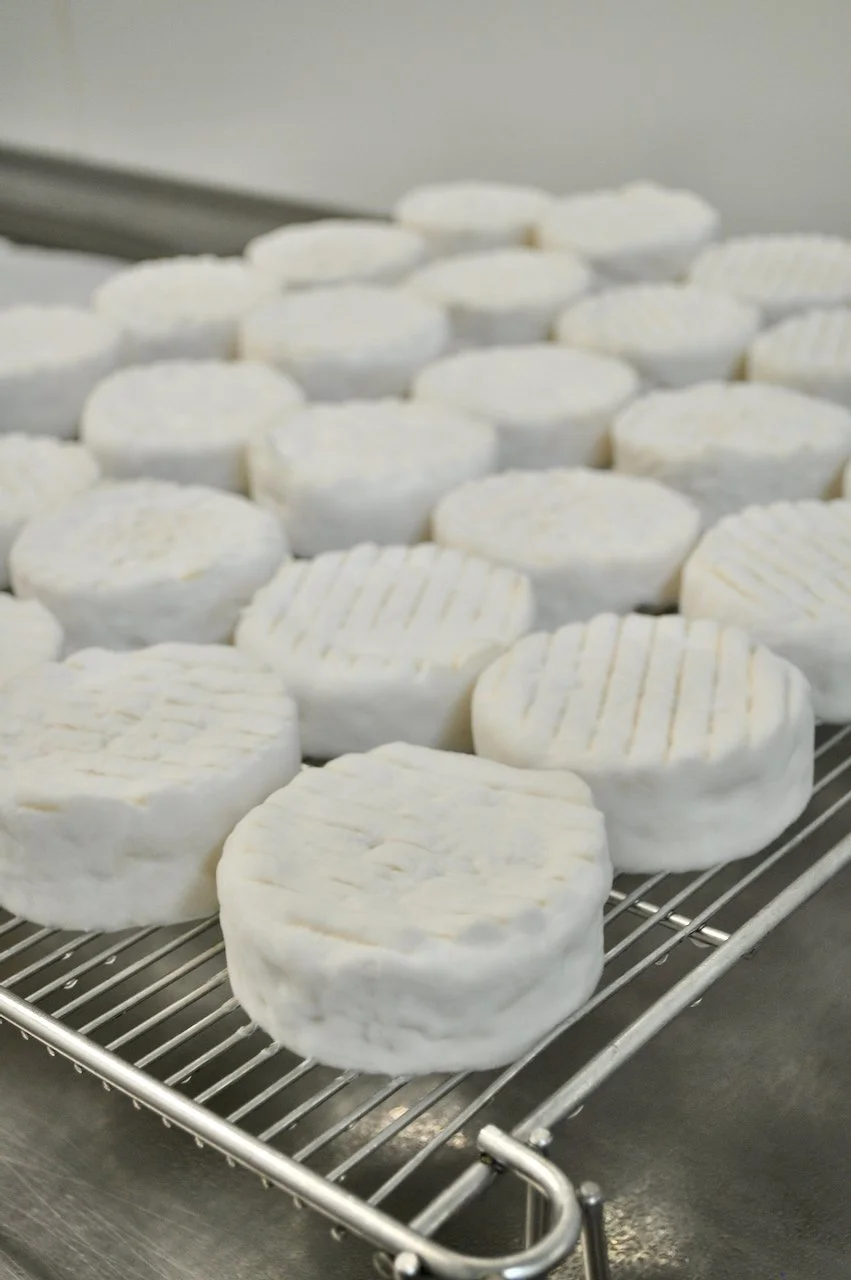
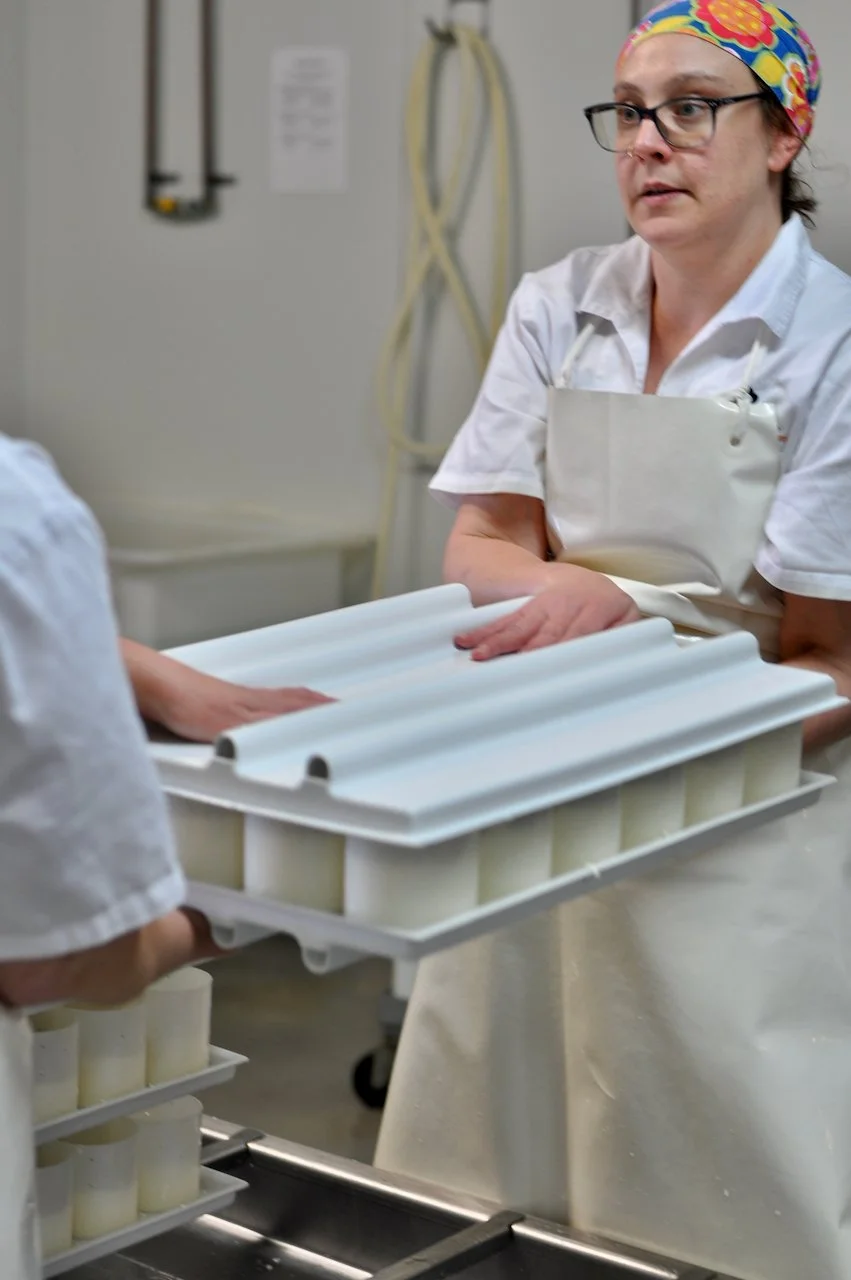
These larger hoops make turning the wheels very challenging
Turning the larger wheels of cheese is a one-person job. Fellow trainee cheesemaker Scott likened it to manipulating a heap of scrambled eggs which is an apt comparison, and exactly as unwieldy as it sounds. Experienced cheesemaker Claire was a seasoned pro and made the whole thing look so improbably easy I could almost sympathise with the witch-hunters of the past. It’s the kind of job where confidence is key: if you hesitate at the wrong moment you’ll end up with a pile of soggy curds on a mat. It gets easier every time: as more liquid drains out you have a firmer mass to work with.
At this point in the day there’s not much left to do but clean in between all the turning. Cheesemaking is mostly cleaning, but I feel like you didn’t come here to read about cleaning so I’m focussing on the not-cleaning. But just know that there’s a lot of cleaning going on in between all the fun stuff.
The wheels of cheese are wrapped up in a large sheet of plastic, and left out on the make table overnight to kick-start the (good) bacterial growth. And that’s a day in the cheese factory.